Choosing the right photo size is essential for creating clear, professional, and visually appealing images. Whether you are printing family photographs, preparing product images for an online store, designing marketing materials, or creating content for social media, the correct dimensions can make a significant difference in the final result.
However, photo sizes can be confusing because they are measured in different units, including inches, centimeters, millimeters, and pixels. You may also encounter terms such as DPI, PPI, and aspect ratio when preparing images for printing or digital use.
Understanding these measurements helps you avoid blurry prints, unwanted cropping, distorted images, and inconsistent visual quality.
In this comprehensive guide, we will explore standard photo sizes, common print dimensions, pixel requirements, aspect ratios, passport photo measurements, and practical tips for preparing images for different purposes.
What Are Standard Photo Sizes?
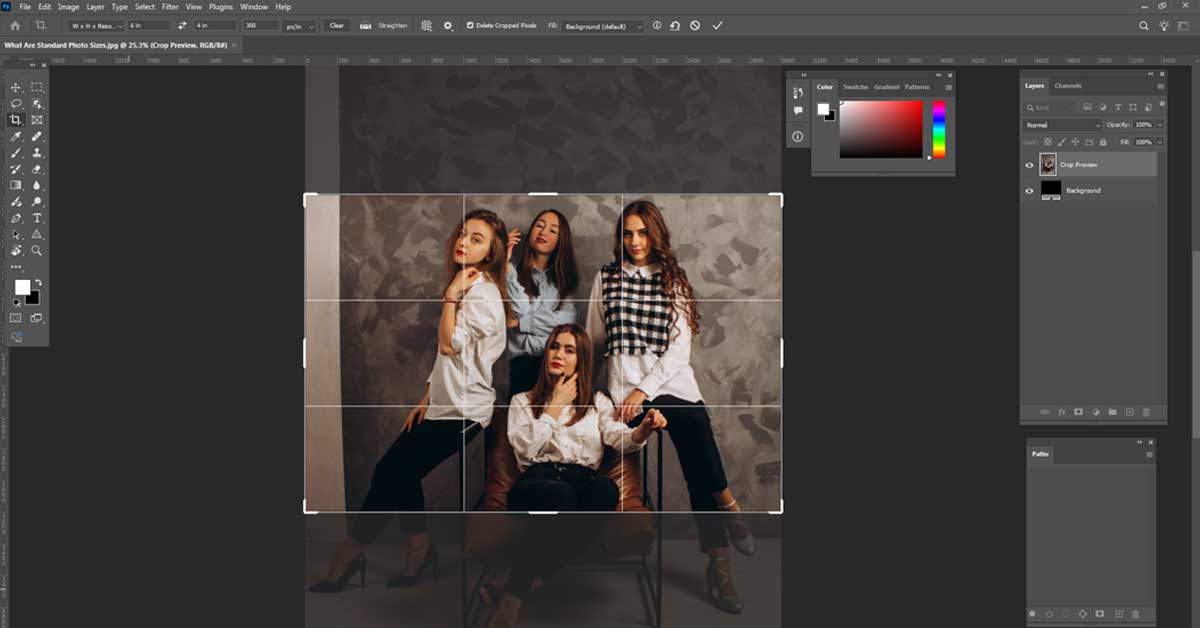
Standard photo sizes are commonly used dimensions for printed photographs and digital images. They help photographers, printing laboratories, designers, and businesses prepare images that fit specific frames, documents, platforms, or layouts.
Some photo sizes are widely used for everyday printing, while others are designed for portraits, identification documents, posters, and commercial photography.
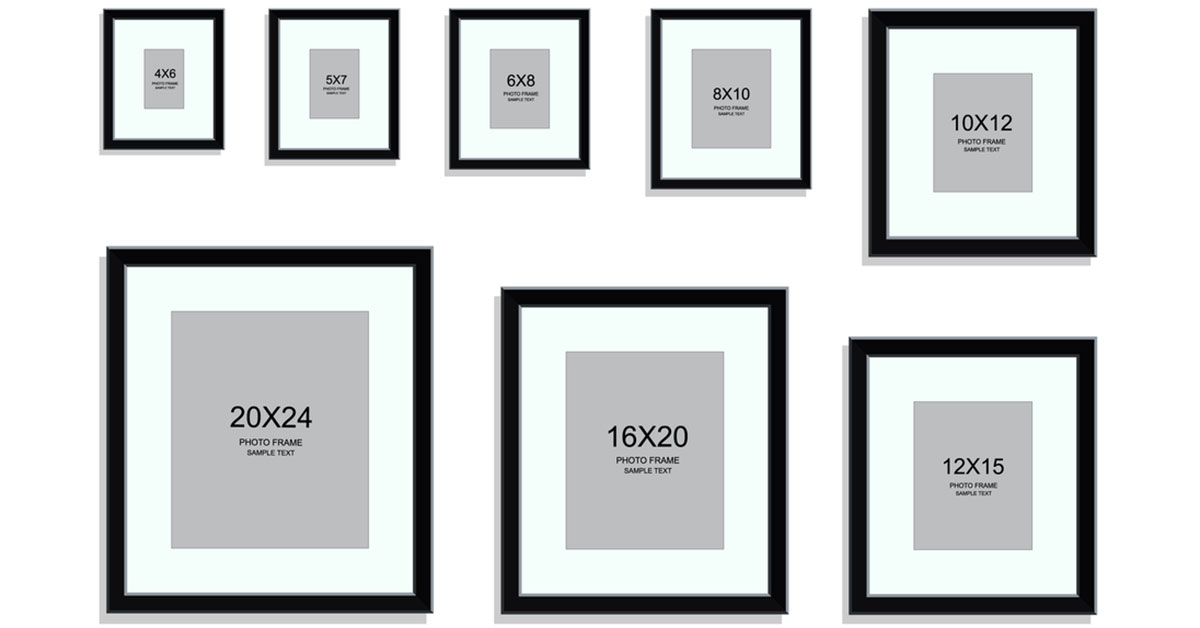
For example, a 4 × 6-inch photograph is a popular choice for family pictures and photo albums. An 8 × 10-inch print is often used for portraits and framed photographs. Larger formats are useful for wall displays and promotional materials.
Digital images follow a slightly different approach. Their dimensions are usually measured in pixels rather than inches. A photograph that looks sharp on a phone may not have enough resolution for a large print.
That is why understanding both physical dimensions and digital resolution is important.
Standard Photo Print Sizes Chart
The following table provides a useful reference for common photo print sizes and their approximate pixel dimensions at 300 PPI.
| Photo Size | Centimeters | Pixels at 300 PPI | Common Uses |
| 2 × 3 inches | 5.08 × 7.62 cm | 600 × 900 px | Small prints and photo collections |
| 4 × 6 inches | 10.16 × 15.24 cm | 1200 × 1800 px | Everyday photographs |
| 5 × 7 inches | 12.7 × 17.78 cm | 1500 × 2100 px | Portraits and greeting cards |
| 6 × 8 inches | 15.24 × 20.32 cm | 1800 × 2400 px | Portraits and framed prints |
| 8 × 10 inches | 20.32 × 25.4 cm | 2400 × 3000 px | Portraits and wall frames |
| 8 × 12 inches | 20.32 × 30.48 cm | 2400 × 3600 px | Photography prints |
| 10 × 12 inches | 25.4 × 30.48 cm | 3000 × 3600 px | Framed pictures |
| 11 × 14 inches | 27.94 × 35.56 cm | 3300 × 4200 px | Large portraits and artwork |
| 12 × 18 inches | 30.48 × 45.72 cm | 3600 × 5400 px | Enlarged photographs |
| 16 × 20 inches | 40.64 × 50.8 cm | 4800 × 6000 px | Wall art and professional displays |
| 20 × 30 inches | 50.8 × 76.2 cm | 6000 × 9000 px | Large prints and posters |
These pixel values assume 300 pixels per inch. The exact dimensions needed for a particular project depend on the printing process, viewing distance, image quality, and intended output.
1. 4 × 6 Photo Size
The 4 × 6-inch format is one of the most familiar photo print sizes. It measures approximately 10.16 × 15.24 centimeters and has a 3:2 aspect ratio.
At 300 PPI, a 4 × 6-inch image requires 1200 × 1800 pixels for a full-resolution print.
Common Uses of 4 × 6 Photos
- Family photographs
- Travel memories
- Wedding snapshots
- Photo albums
- Everyday picture printing
- Small framed photographs
Many digital cameras produce images with a 3:2 aspect ratio, making this format a natural fit for those photographs.
However, images captured on smartphones may use a different aspect ratio. Cropping might therefore be necessary before printing.
2. 5 × 7 Photo Size
A 5 × 7-inch photograph measures approximately 12.7 × 17.78 centimeters. Its aspect ratio is 5:7 when written as width to height.
At 300 PPI, the recommended pixel dimensions are 1500 × 2100 pixels.
This format offers more space than a standard 4 × 6 print without requiring a particularly large frame.
Common Uses of 5 × 7 Photos
- Family portraits
- Birthday photographs
- Wedding portraits
- Greeting cards
- Gift photographs
- Small decorative frames
Because its proportions differ from a typical 3:2 camera image, some cropping may occur. Before printing, check that important details such as faces, hands, and objects near the edges remain visible.
3. 8 × 10 Photo Size
An 8 × 10-inch photograph measures approximately 20.32 × 25.4 centimeters.
At 300 PPI, the target resolution is 2400 × 3000 pixels.
This format is widely useful for portraits and framed photographs because it provides enough space to display facial details and other important elements clearly.
Common Uses of 8 × 10 Photos
- Professional portraits
- Family pictures
- Studio photography
- Graduation photographs
- Decorative wall frames
- Printed portfolio images
An 8 × 10 print has a 4:5 aspect ratio. Since many cameras capture images in other proportions, you may need to crop the original photograph.
For portrait photography, it is helpful to leave some space around the subject when composing the original image. This makes later cropping easier.
4. Large Photo Print Sizes
Large photographs can transform an ordinary picture into a striking display. Common formats include 11 × 14, 12 × 18, 16 × 20, and 20 × 30 inches.
These sizes are frequently used for wall art, gallery displays, commercial photography, and decorative prints.
Larger prints generally require more image data to maintain fine detail. However, the ideal resolution also depends on how far away viewers will stand.
A photograph intended to be viewed from a short distance may need greater detail than a large banner viewed from across a room.
Before enlarging an image, check the original resolution and avoid repeatedly resizing and exporting the same file.
What Is the Difference Between Photo Size and Image Resolution?
Photo size and image resolution are related, but they describe different things.
Photo size generally refers to the physical dimensions of a printed image, such as 4 × 6 inches.
Image resolution describes the amount of pixel information contained in a digital image. For example, an image measuring 2400 × 3600 pixels contains more pixels than an image measuring 800 × 1200 pixels.
A high-resolution image can generally support larger prints while preserving more detail, provided that the original photograph is sharp and properly focused.
However, increasing the pixel dimensions of a small image does not automatically recreate missing details. Software may interpolate additional pixels, but this is not the same as capturing more genuine image information.
For the best results, begin with the highest-quality original file available.
Understanding DPI and PPI
DPI stands for dots per inch and describes the density of printed dots produced by a printer. PPI stands for pixels per inch and describes the pixel density of a digital image when it is displayed or prepared for a particular physical size.
Although these terms are often used interchangeably in everyday photography, they have different technical meanings.
For preparing photographs, a useful calculation is:
Pixel dimensions = Print dimensions in inches × PPI
For example, a 4 × 6-inch photograph prepared at 300 PPI requires:
- Width: 4 × 300 = 1200 pixels
- Height: 6 × 300 = 1800 pixels
Therefore, the target image dimensions are 1200 × 1800 pixels.
A 300 PPI target is commonly used for high-quality photographic prints. Some large-format prints can look good at lower pixel densities, particularly when viewed from farther away.
Always check your print provider’s specifications before finalizing the file.
Understanding Photo Aspect Ratios
An aspect ratio describes the relationship between an image’s width and height.
For example, a photograph measuring 1200 × 1800 pixels has a 2:3 aspect ratio. The same ratio applies to a 4 × 6-inch print.
Common aspect ratios include:
| Aspect Ratio | Example | Typical Applications |
| 1:1 | 1000 × 1000 px | Square social media images |
| 2:3 | 1200 × 1800 px | Standard photo prints |
| 3:2 | 3000 × 2000 px | Digital camera photographs |
| 4:5 | 2400 × 3000 px | Portrait prints and social content |
| 16:9 | 1920 × 1080 px | Video thumbnails and widescreen content |
| 5:7 | 1500 × 2100 px | 5 × 7-inch prints |
When the aspect ratio of a photograph does not match the intended print size, the image may need to be cropped or placed within a border.
Stretching the image to force a different ratio should generally be avoided because it can distort faces, products, and other objects.
Standard Passport and ID Photo Sizes
Passport and identification photographs have specific requirements that differ from ordinary photo prints.
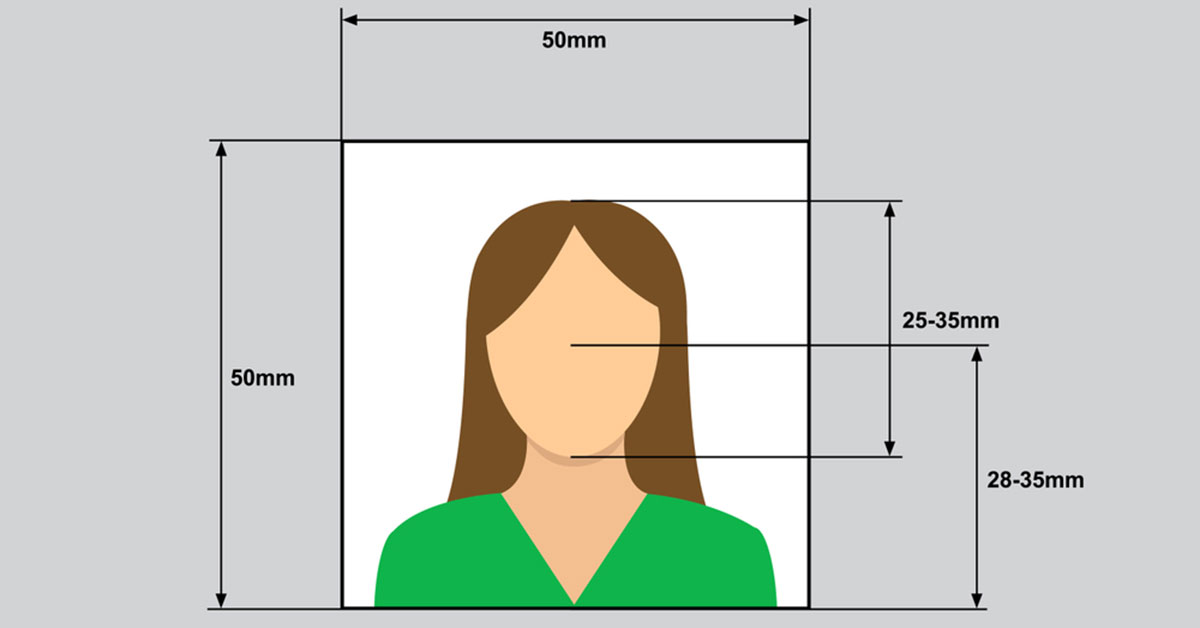
The correct dimensions depend on the country, document type, and submission method. Some authorities require printed photographs, while others accept digital files with separate pixel and file-size requirements.
Here are several commonly encountered physical formats:
| Photo Format | Physical Dimensions | Typical Context |
| 35 × 45 mm | 3.5 × 4.5 cm | Many passport and visa applications |
| 2 × 2 inches | Approximately 51 × 51 mm | U.S. passport photographs |
| 50 × 70 mm | 5 × 7 cm | Canadian passport photographs |
These formats are examples rather than universal rules. The required background, face positioning, head size, expression, lighting, and file specifications may also differ.
For official documents, consult the relevant government or issuing authority before taking, editing, printing, or submitting your photograph.
Standard Digital Photo Sizes for Social Media
Digital platforms often use different image proportions depending on where the image will appear. A square image may work well for one placement, while a vertical or widescreen format may be more appropriate for another.
The following are useful working dimensions for common digital content. They are not universal requirements, and platform specifications can change.
| Content Type | Example Dimensions | Aspect Ratio |
| Square social post | 1080 × 1080 px | 1:1 |
| Vertical social post | 1080 × 1350 px | 4:5 |
| Vertical story or reel | 1080 × 1920 px | 9:16 |
| Widescreen video thumbnail | 1920 × 1080 px | 16:9 |
| Website banner | 1920 × 600 px | 3.2:1 |
For social media, the main priorities are clarity, correct composition, and compatibility with the intended placement.
For website banners, consider the space occupied by text, navigation, and other page elements. A subject placed too close to the edge may be cropped on smaller screens.
Choosing the Right Photo Size for Product Photography
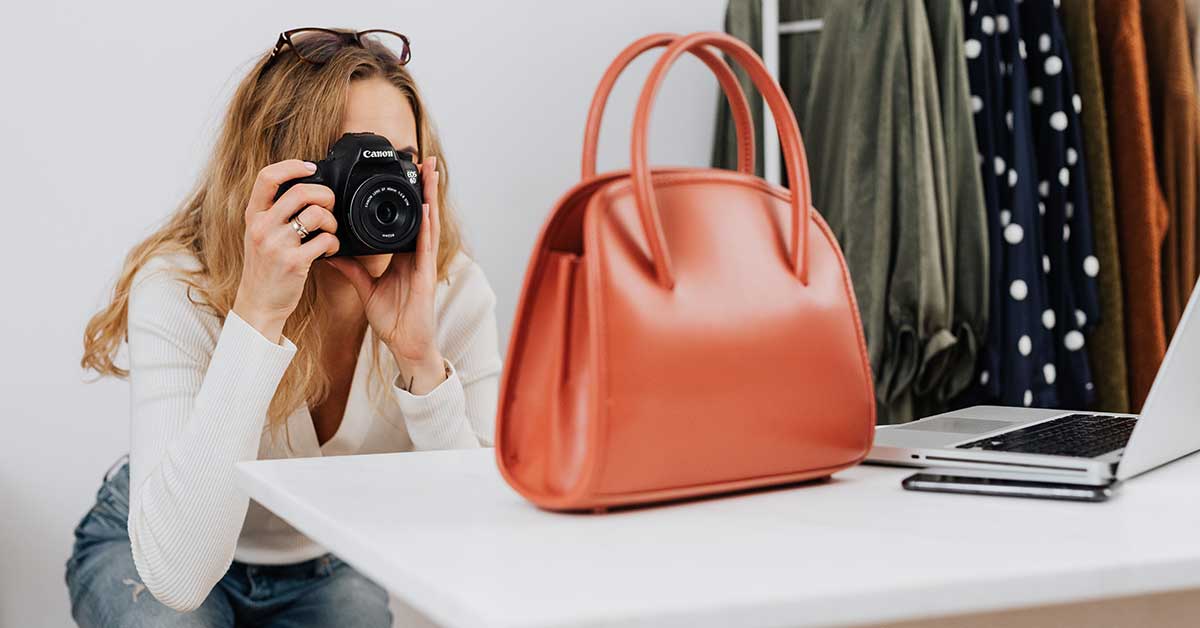
Product photography requires careful attention to image dimensions, sharpness, background consistency, and framing.
For eCommerce businesses, images must show products clearly enough for shoppers to understand their appearance, color, texture, and features.
The ideal dimensions depend on the marketplace or website. A product listing may need a square image, while a product detail page may use a larger image with more visible detail.
Before exporting product images, consider these factors:
1. Follow the Platform Requirements
Check the recommended dimensions, aspect ratio, file type, and maximum file size for your online store or marketplace.
Do not assume that every platform accepts the same image specifications.
2. Keep Product Proportions Accurate
Avoid stretching an image to fill a frame. Distorted product shapes can make photographs look unprofessional and may misrepresent the item.
3. Maintain Consistent Framing
When photographing a product catalog, use consistent spacing, alignment, and image proportions. A uniform presentation makes category pages easier to browse.
4. Preserve Fine Details
Products such as jewelry, clothing, electronics, and accessories may require careful attention to edges, textures, stitching, and reflective surfaces.
Start with high-quality source images and use appropriate editing methods to preserve important details.
5. Optimize File Size
Large image files can increase page loading time. Export images at a suitable resolution and use an appropriate file format without unnecessarily sacrificing visual quality.
How to Resize Photos Without Losing Quality
Resizing photographs is a common part of preparing images for websites, printing, and marketing materials. The process should preserve as much of the original image quality as possible.
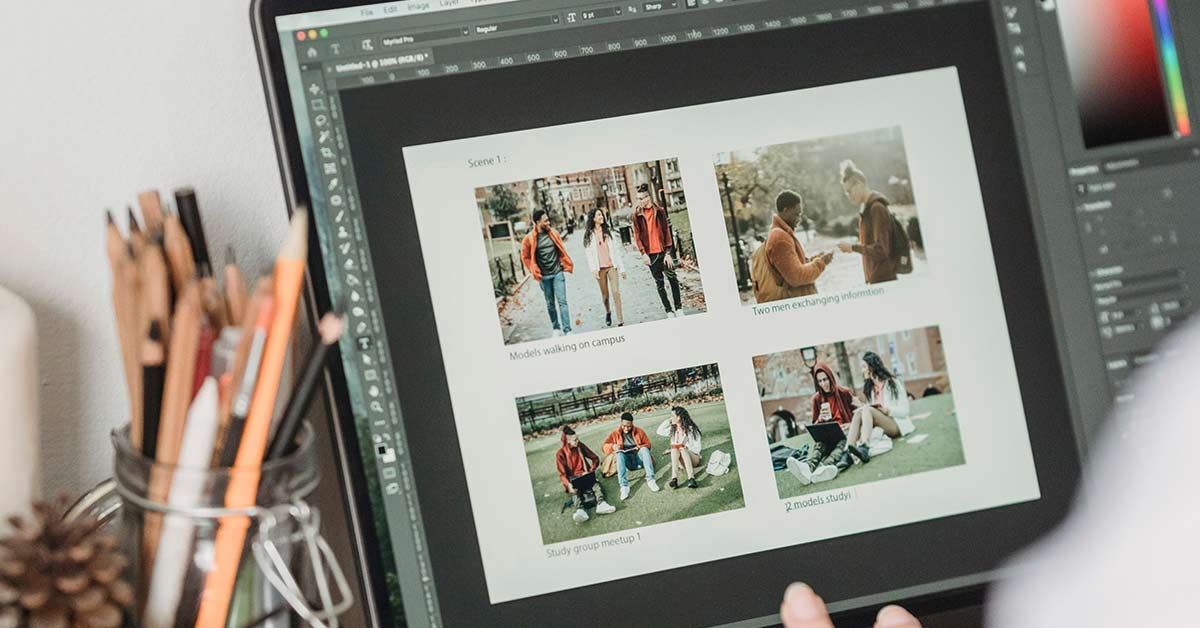
Follow these practical steps:
- Choose the correct target size. Determine the required width, height, and aspect ratio before editing.
- Use the original image. Avoid working from a compressed screenshot when a full-resolution file is available.
- Crop carefully. Keep important subjects and details within the intended frame.
- Maintain the aspect ratio. This prevents unwanted stretching or compression.
- Choose an appropriate resolution. Use the pixel dimensions required by the print provider or digital platform.
- Export in a suitable format. JPEG is commonly used for photographs, while PNG can be useful for graphics requiring transparency.
- Inspect the final file. Check sharpness, edges, colors, and overall composition before publishing or printing.
For professional projects, retain an editable original so that you can create different sizes later without repeatedly degrading the same exported file.
The Importance of Professional Image Editing
Correct dimensions are only one part of a successful photograph. Lighting, color accuracy, sharpness, background quality, and clean edges also influence how an image appears.
For example, an eCommerce product image may have the correct pixel dimensions but still look unprofessional because of uneven lighting, distracting backgrounds, unwanted reflections, or inaccurate colors.
Professional image editing can help address these problems while maintaining the product’s natural appearance.
Common services include:
- Clipping path
- Background removal
- Image masking
- Product photo retouching
- Color correction
- Ghost mannequin editing
- Shadow creation
- Image resizing and optimization
These techniques are particularly valuable for businesses that need consistent product images across large catalogs.
Professional Image Editing Services at Clipping Object
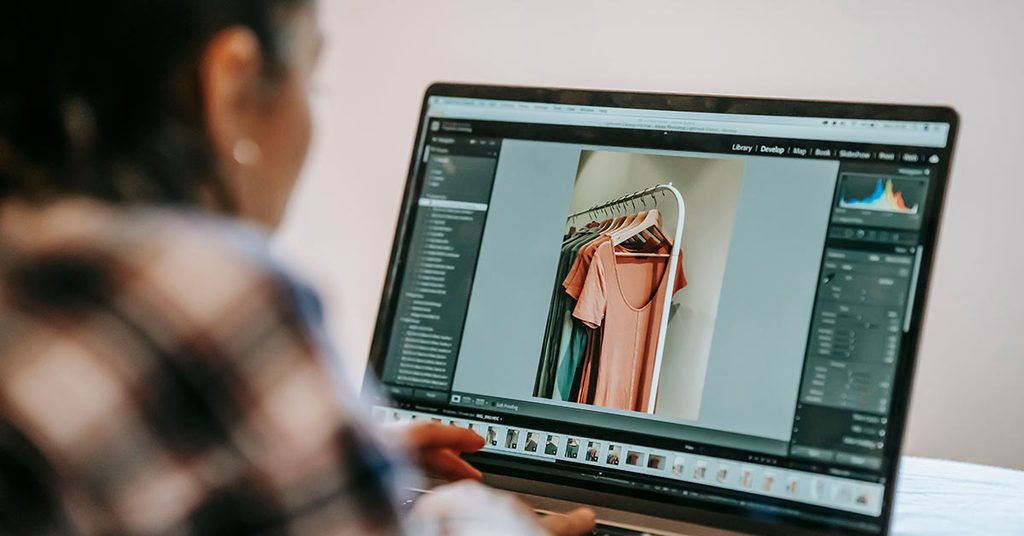
At ClippingObject, we understand the importance of clear, consistent, and professionally prepared images for commercial use.
Whether you manage an online store, work as a photographer, or produce marketing materials, preparing images for different output sizes can require time and attention to detail.
ClippingObject offers image editing services designed to support a range of visual projects, including clipping path, background removal, image masking, product retouching, color correction, and ghost mannequin editing.
A consistent image editing workflow can help businesses maintain a professional appearance across product listings, advertising materials, and website galleries.
Visit ClippingObject.com to explore our services and find an image editing solution suited to your project.
Conclusion
Understanding standard photo sizes helps you prepare images for printing, digital publishing, social media, identification documents, and commercial photography.
Formats such as 4 × 6, 5 × 7, and 8 × 10 inches are useful references for everyday printing. Pixel dimensions help you determine whether an image contains enough detail, while PPI and aspect ratios help you prepare it for the intended output.
The most important step is to choose the correct dimensions before editing or exporting your photograph. This reduces unnecessary cropping, preserves image proportions, and helps you achieve a more consistent result.
For professional product photography, combine the right image size with careful composition, accurate colors, clean backgrounds, and appropriate image editing.
By following these guidelines, you can prepare photographs that look clear, balanced, and professional across different formats and platforms.
Frequently Asked Questions (FAQ)
1. What is the most common standard photo size?
The 4 × 6-inch format is one of the most commonly used photo print sizes. It is suitable for everyday photographs, family albums, and small framed prints.
2. What is the standard photo size in pixels?
There is no single standard pixel size for every photograph. For example, a 4 × 6-inch print at 300 PPI requires 1200 × 1800 pixels, while an 8 × 10-inch print requires 2400 × 3000 pixels.
3. What photo size should I use for printing?
The correct size depends on your frame, printing requirements, and intended use. Common options include 4 × 6 inches for everyday prints, 5 × 7 inches for portraits, and 8 × 10 inches for larger framed photographs.
4. Is 300 PPI good for photo printing?
Yes. A target of 300 PPI is commonly used for high-quality photographic prints. However, the ideal resolution depends on the print size, viewing distance, source image quality, and printer capabilities.
5. What is the difference between DPI and PPI?
PPI refers to pixels per inch in a digital image at a given physical size. DPI refers to dots per inch produced by a printer. Both terms relate to image output quality, but they describe different things.
6. What is the best aspect ratio for photographs?
The best aspect ratio depends on your intended use. A 3:2 ratio is common in camera photography, 2:3 works well for many standard prints, 1:1 is useful for square images, and 16:9 is common for widescreen content.
7. What is the standard passport photo size?
Passport photo dimensions vary by country and document type. Common formats include 35 × 45 mm, 2 × 2 inches, and 50 × 70 mm. Always check the official requirements for your specific application.
8. Can I enlarge a small photograph without losing quality?
Enlarging a photograph can reduce apparent sharpness because the software must interpolate additional pixels. AI upscaling may improve the appearance of some images, but it cannot guarantee recovery of all missing original details. Starting with a high-resolution image is preferable.
9. What photo size is suitable for eCommerce product images?
The appropriate dimensions depend on the marketplace or website. Many stores use square product images, but some layouts require different proportions. Check the platform’s image specifications and use consistent framing throughout your catalog.
10. Which file format is best for photographs?
JPEG is a common choice for photographic images because it offers a practical balance between quality and file size. PNG is useful when transparency is required or when working with certain graphics. The best format depends on the intended use.
11. Why do photographs sometimes get cropped when printed?
Cropping often occurs when the photograph’s aspect ratio does not match the print dimensions. For example, a 3:2 image does not have the same proportions as an 8 × 10-inch print. Choosing the crop before printing helps protect important details.
12. How can I prepare professional product photos?
Start with sharp, well-lit photographs and use the correct dimensions for your intended platform. Maintain accurate colors, clean backgrounds, consistent framing, and suitable file sizes. Professional editing can further improve the presentation of product images.
13. Does changing pixel dimensions improve image quality?
Not necessarily. Increasing pixel dimensions creates a larger file, but it does not automatically add genuine detail. Use a high-quality original image and resize it appropriately for your intended output.
14. Why is consistent image sizing important for online stores?
Consistent image sizing creates a more organized product catalog and helps product listings appear uniform. It can improve browsing and presentation while making the store look more professional.
15. Can Clipping Object help with product image editing?
ClippingObject offers image editing services such as clipping path, background removal, image masking, color correction, and product photo retouching. These services can help businesses prepare consistent product images for online stores and other commercial applications.